Defender Side Window Demisters
 Category: Technical Articles
Introduction
One thing that modern cars tend to have is a facility for blowing air onto the side (door) windows as well as the front windscreen. For the majority of the time this is not an issue, the driver’s side can be wiped easily, but clearing the passenger window is more difficult. If your Defender happens to suffer from water ingress and is damp as a result, then this problem will occur every morning in the winter!
There are several solutions on the market to deal with this. The first is the kit of parts that Land Rover themselves supplied to the British Army for use with their winterised Defender ‘Wolf’ models. This consists of a new top cover for the lower dash duct, with two extra holes in it, some tubing and a pair of different left and right hand closing panels for the dash with grilles in for the outlets.
The second option is an aftermarket kit that aims to achieve a similar effect. These supply a new pair of upper vent ‘triangles’ (the bits under the dash top pad that the air flows up through) which have secondary side outlets on, and a short length of tube to run to each side where a hole is cut in the dash closing panels. Finally the last off-the-shelf option I have seen is a replacement top vent trim which simply incorporates a side outlet into the design, the main advantage of that of course being that there is no need to open up the dashboard!
All these options however are rather expensive, and the same effect can be achieved for much less outlay. Below is how I installed mine using parts that came to a cost of less than £20.
Parts needed
- A metre or two of 25mm flexible tubing, I used the feed hose off an external canister aquarium filter but electrical conduit is another suitable source.
- Through-panel adaptors for the conduit if it doesn’t come with them.
- If desired, a neat way of terminating the tubes in the ends of the dash. Some form of grille, perhaps.
Methodology
First I removed the dashboard to enable access. I had the whole lot out as I was doing some bulkhead work, but what needs to be removed to install the demisters is as follows:
- Gauges and binnacle.
- End closing panels (handle on the left and heater controls on the right).
- Top crash pad.
- Grey vent mount panel trim (large grey piece across the middle).
- Convoluted demist tubes and ‘triangle’ vents.
- Perhaps the binnacle mount frame to improve access.
- Steering wheel and column switches for same reason as above.
(Please note: The above list is the case for the older Defender style of dashboard fitted on models from 1983 to 2001. Models from 2002 onwards use a slightly different design of dash so it will differ)
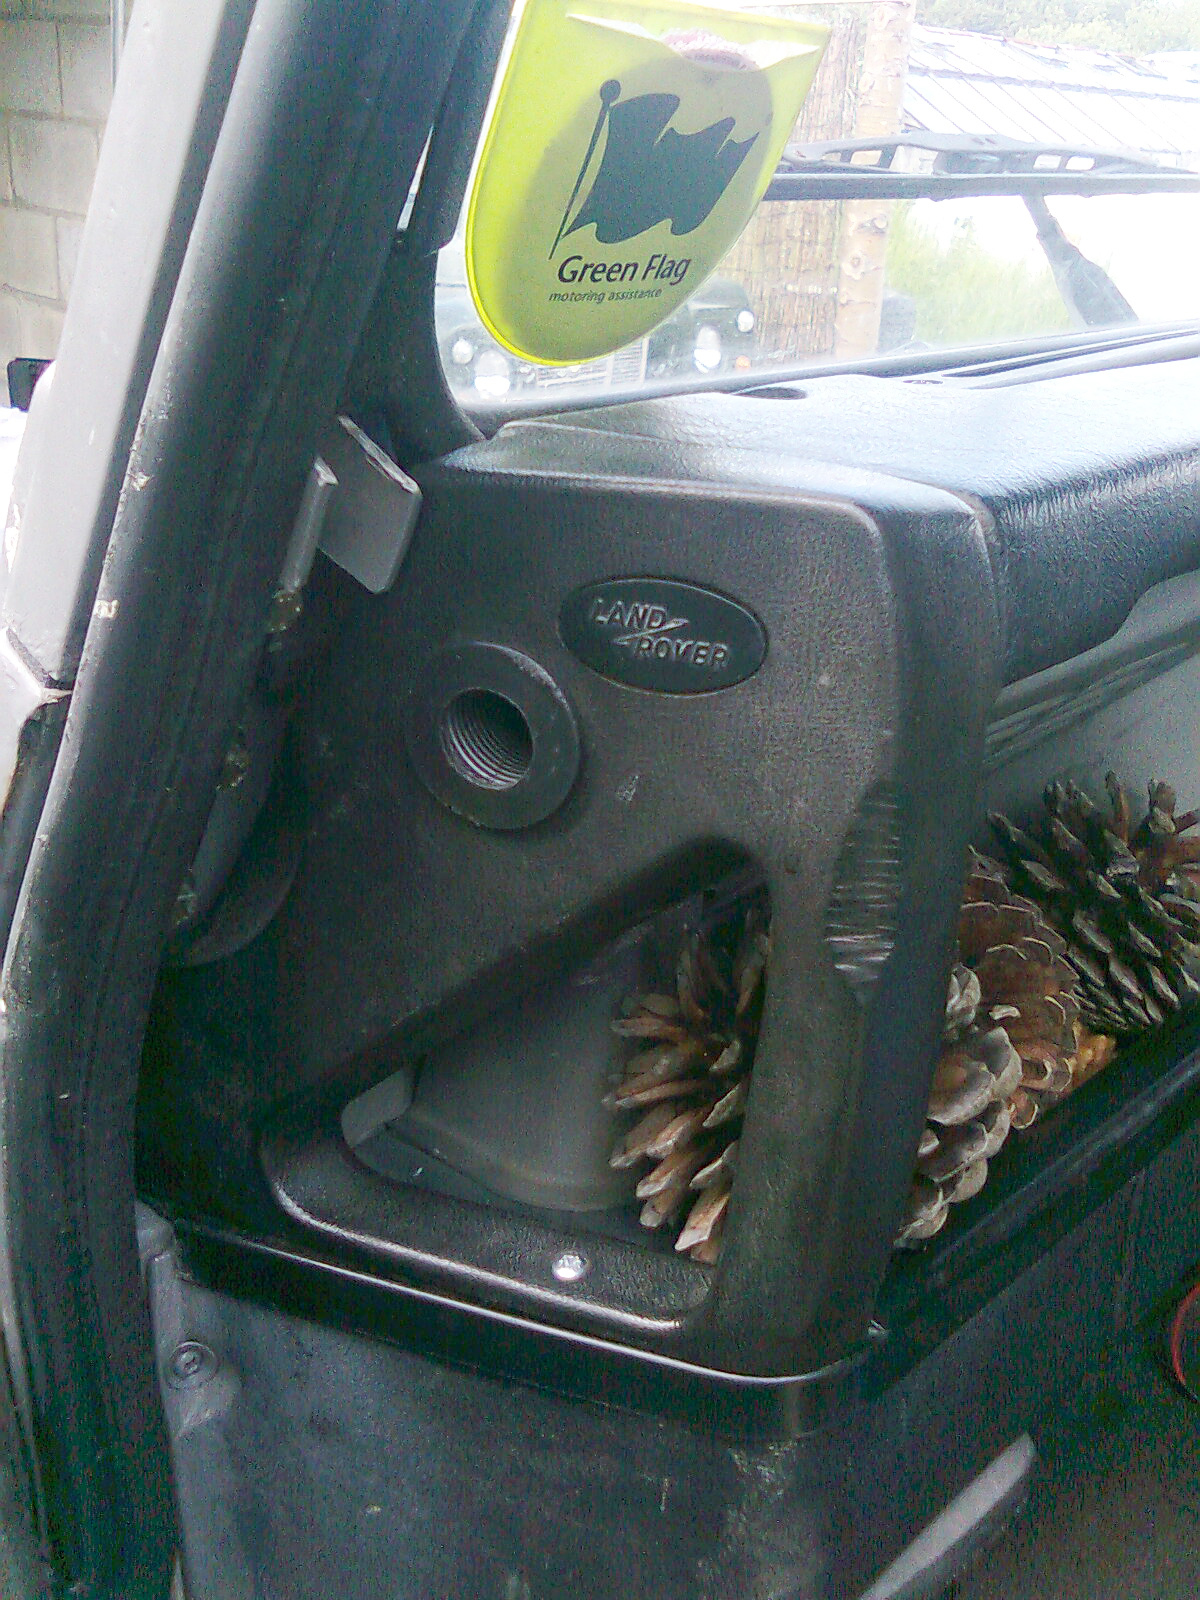
Take note of where the triangle windscreen demist vent goes through the black metal vent handle mounting panel. You will need to enlarge this hole slightly on the outer side (so the left side on the left hand one and the right side on the right hand one) of the convoluted demist tube itself, to allow for passage of the 25mm tubing that is to be installed. This is easiest if one removes the panel from the bulkhead, but this entails disconnecting the vent handles from the bulkhead vents themselves (one of those annoying fiddly jobs), so I made the cuts using a wheel in a Dremel, and extended the very bottom of the hole sideways slightly. Make sure you do it low enough down so that your 25mm tubing will clear the plastic body of the triangle vent when installed.
Next job is to cut a hole (sized to suit the adaptors for your conduit) as close as possible to the hole that the rubber trim on the bottom of the main demist hose fits in to, in line with your enlarged hole in the panel above. You’ll need to cut through both the plastic dash tray and the metal (foam-backed) panel that lies underneath it. Be sure to allow enough space for the adaptor next to the rubber trim of the main hose. Repeat this step for the other side.
You can now fit the adaptors and hose, feed the hose in from the top along the intended path. Mine simply ran along the top of the metal panel, well out of the way of the wiper rack and windscreen washer tubing. Leave a few inches sticking out the end of the dash for now to allow for cutting back when re-assembly. The bottom nut can be fitted onto the adaptor through the larger hole for the main demist tube.

Secondary demister tube installed on the passenger side. Note the proximity to the standard pipe and the enlarged aperture in the upper metal panel.
Once you have reached this stage and you have pipes sticking out of both sides, you can put the dashboard back together, save for the closing end panels. These now need drilling to allow your nice new pipes to bathe your side windows in warm air! I aimed to hit the window just inside the frame in an attempt to maximise the effectiveness of the airflow. Be sure to allow for passage of the tube and avoid the various parts of dash and bracketry behind the panels, especially on the driver’s side where the heater controls are.
The holes can be left open with a short length of pipe sticking out, or you can terminate them if you want a slightly neater look. I used these plastic pieces which I found in a bin of pond pump plumbing oddities. I’m afraid I have no idea what they are or where they came from, but they are perfect for the job!

Random pieces of pond plumbing that do the job of an outlet vent trim nicely!
Trim the pipes to the correct length (I allowed a bit of slack to enable me to get the dash end panels on/off) and re-fit your panels to complete the look!

Driver’s side outlet vent installed.

Passenger’s side outlet vent installed.
Update: Outlet Vents
I found that with the grilled vents as per the above photos the airflow output was rather poor, so instead opted for simple open ones as shown below. The result is far more air!
New open design of outlet vent.