Trimming Out a Defender 90 Hard Top
 Category: Technical Articles
Commercial hard-top Defender 90s get a raw deal when it comes to trim, out of the factory they are left with very little in the back which means a lot of bare metal surfaces and consequently a lot of noise and condensation issues. The solution is to trim it out and cover these bare areas with layers of sound deadening, carpet and/or other materials in order to A. create a more pleasant environment and B. cut down on noise and condensation. This article will cover how I have attempted to go about this in order to make my car a nicer place to be.
Side Panels
My initial solution looked like this:
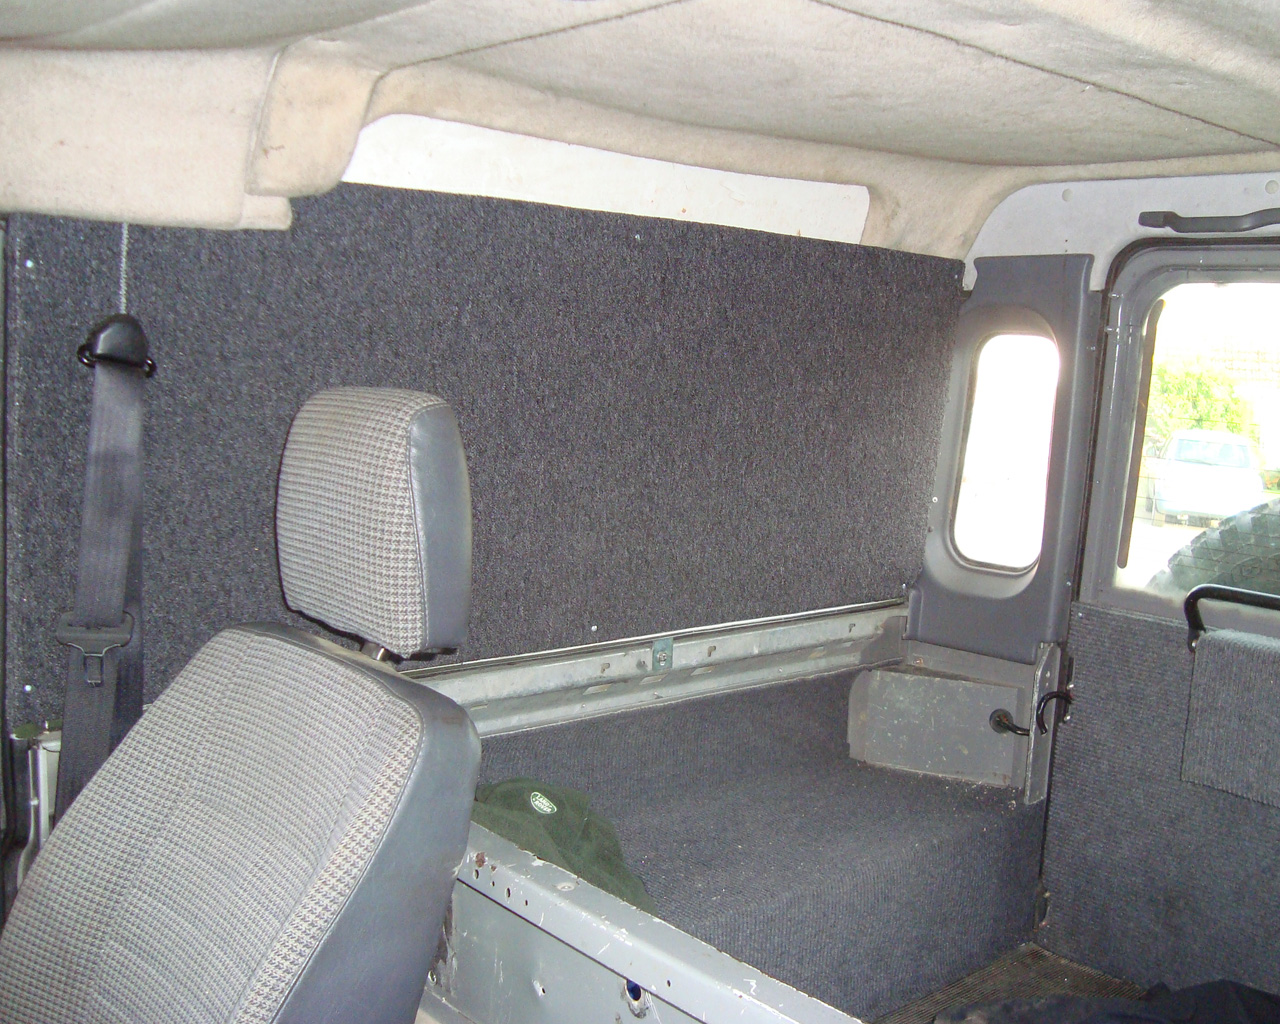
Original ply/carpet solution.
This was very simple, just a piece of 6mm plywood cut to shape and then screwed to the edges of the side panel. And some cheap carpet stretched over it. It actually worked pretty well, and fulfilled some of the objectives above in that it made it look nicer and reduced the resonant noise issue. However I wanted to have something that looked a little more factory and a little less home made, especially at the rear where it didn’t really tie in properly with the standard rear 1/4-light trim.
Inspired by the modern “utility station wagon” Defender 110s that Land Rover produce, which have rear trimming in the hard-top section at the back, I went on the hunt for some side trims for a 90 station wagon. These are very hard to get hold of at a decent price and as I wasn’t willing to pay the hundreds of pounds they go for on eBay I waited until a cheaper set arose. I ended up with these:
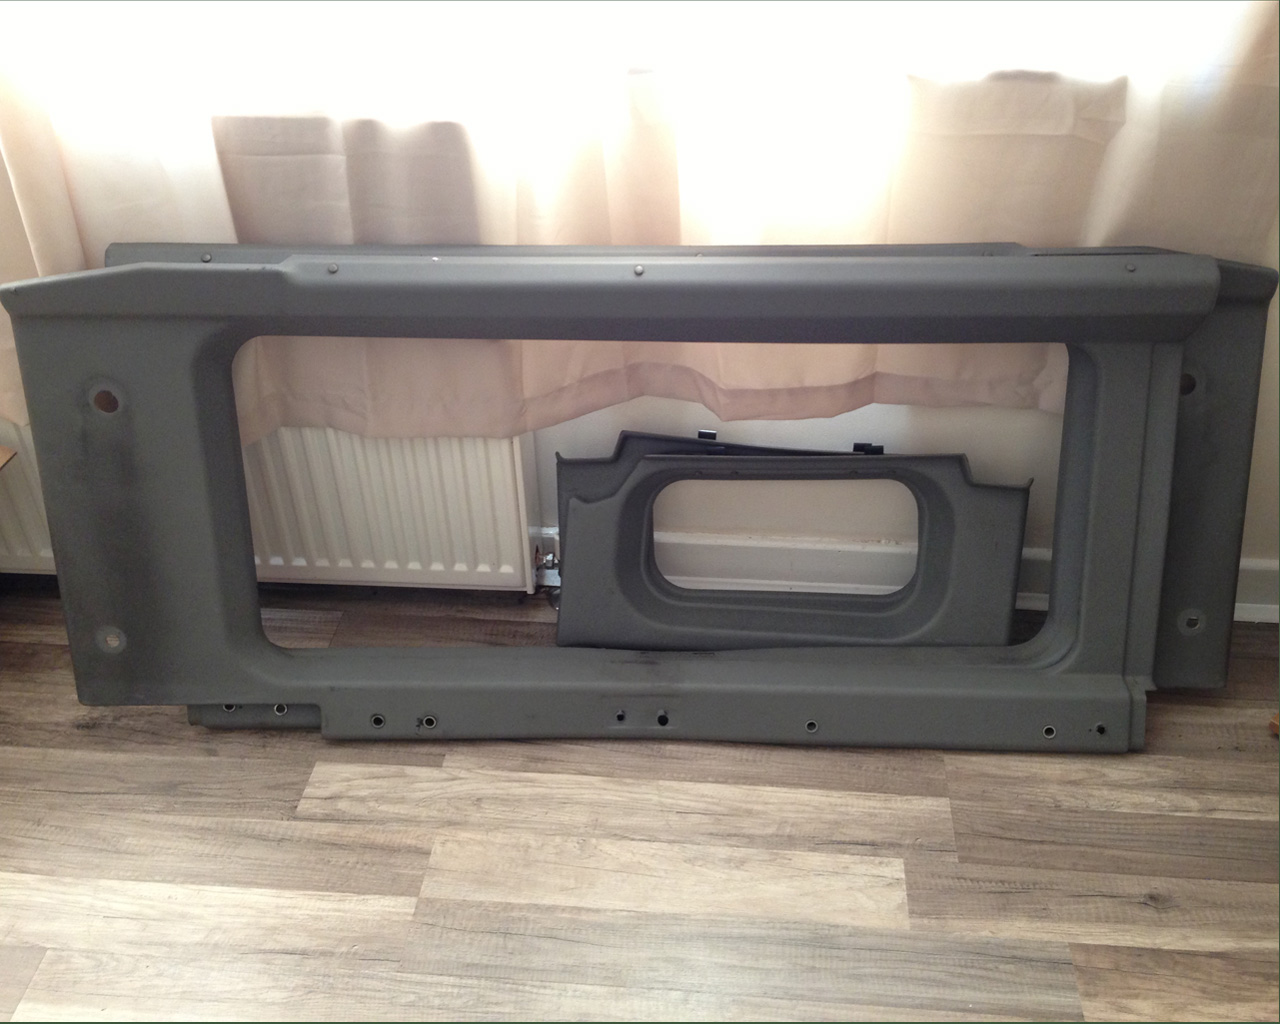
Set of 90 SW trims. Few extra holes where a roll hoop had been bolted through but nothing that can’t be overcome.
First job was a test fit to make sure they lined up OK and also to make the necessary notches top and bottom to clear the central reinforcing piece that isn’t present in station wagon models equipped with windows:
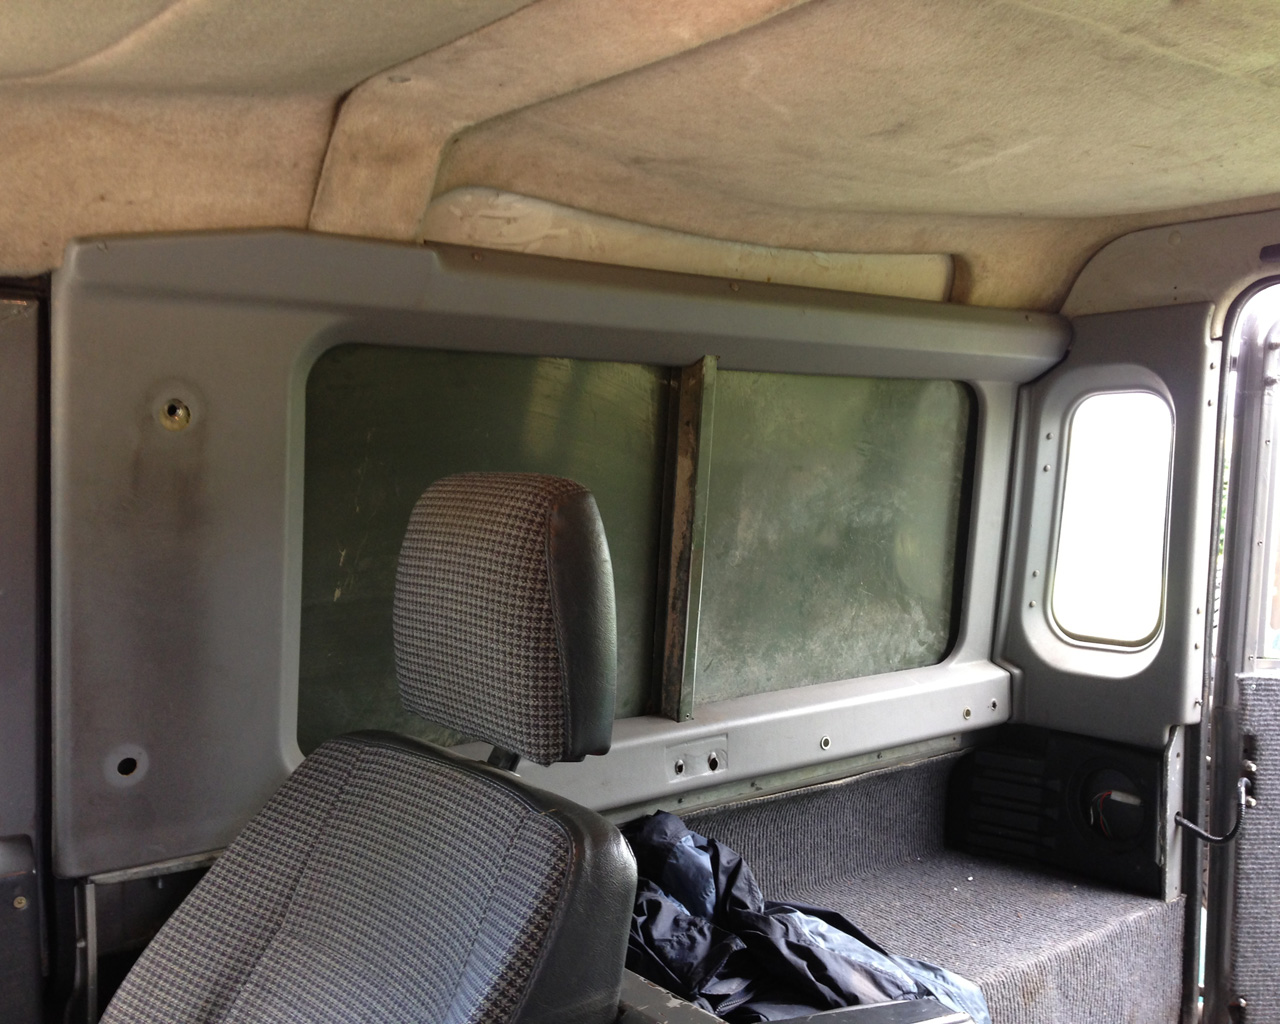
Testing for fit and notching.
Ideally I would have applied proper sound-proofing material to the bare metal behind, but not wishing to splash out at current I instead applied a layer of roof flashing tape from Wickes. Fairly cheap, a £13 roll did one side with some to spare. Probably not as good as pukka sound-proofing but it will have a deadening effect by adding some weight to the panel, which should help reduce the resonance of the back of the car. If you were feeling particularly generous you could apply multiple layers. Once applied it looked like this:
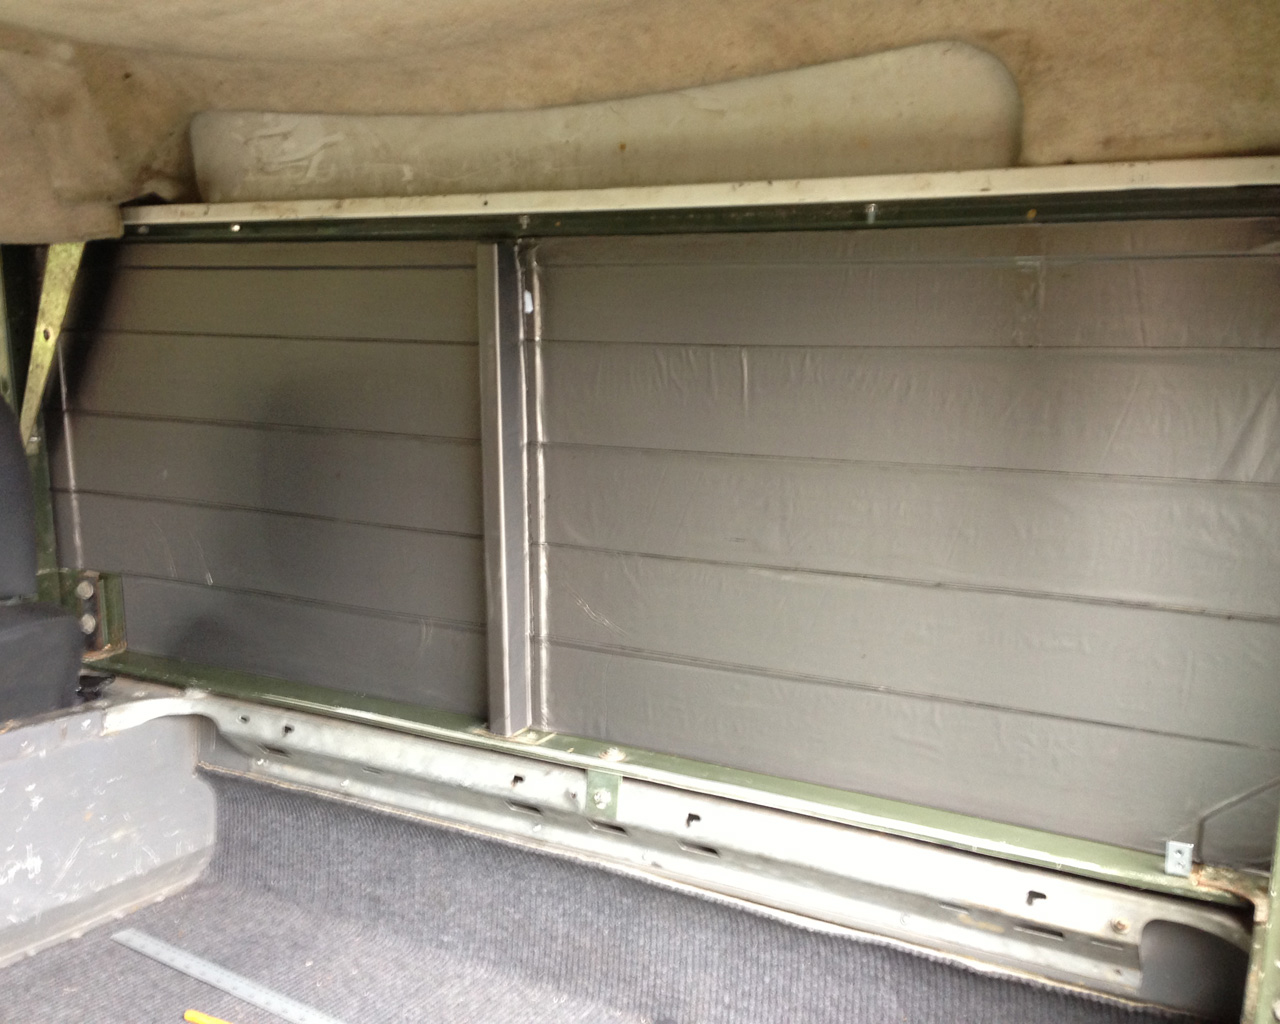
Flashing applied.
The flashing wouldn’t be very nice to look at through the aperture in the trims so the carpet that was on the original ply board was cut up and re-purposed to cover it at the relevant points. Then the trim was re-installed over the top resulting in this:
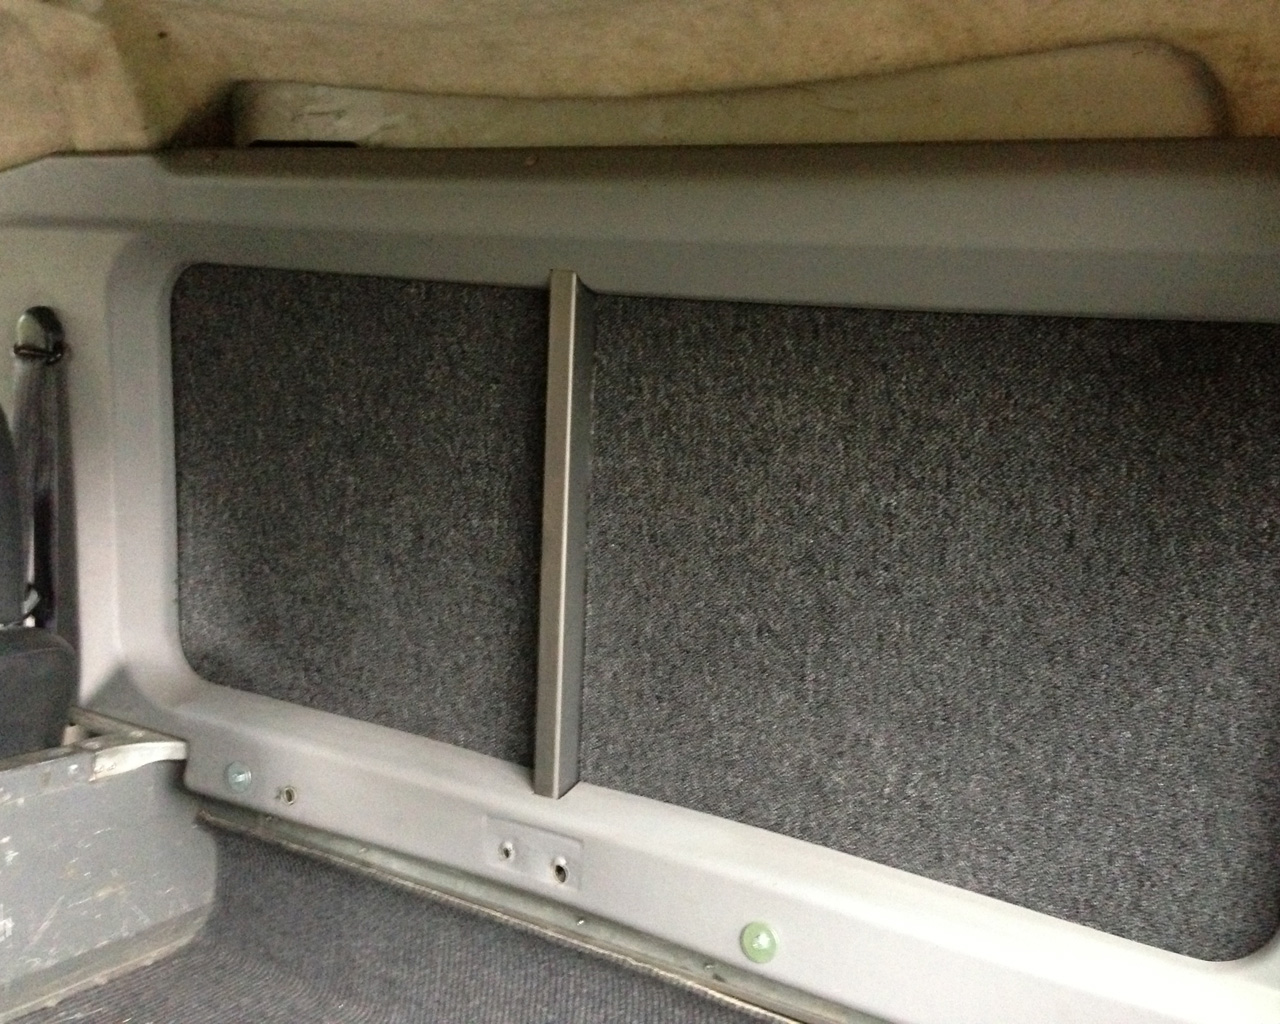
View from rear door.

Completed installation.
A far tidier solution than the original ply-covered carpet. In time the carpet will be replaced with a different type more suited to an automotive application, at which point the central reinforcement piece will also be covered.