Installing Remote Central Locking on Front Doors
 Category: Technical Articles
Right, so today I installed Central Locking in my 90, and I thought I’d share with you the process I took. So this is how I did it:
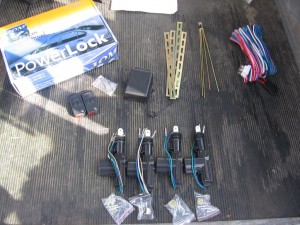
The kit I bought was off that well-known auction site, cost me £35 delivered from Germany, and consists of the following:
- 2 x Keyfobs (with blank keys)
- Remote control ‘brain’ unit
- Mounting brackets
- Actuator linkages
- Wiring loom (!)
- 4 x Actuators
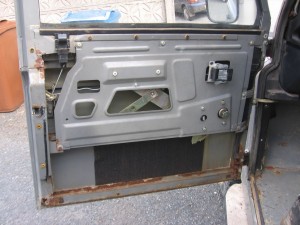
First job is to get the door cards off, and reel at the rusty mess that lies beneath (in my case):
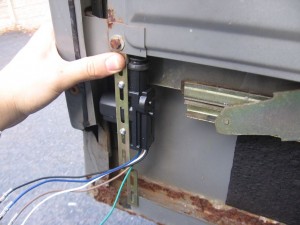
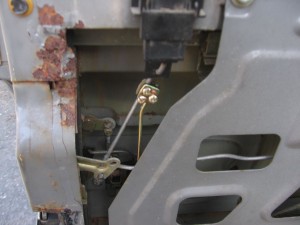
Then one must (through trial and error) find the best position for the actuator. Luckily the position shown below happens to be perfect, the actuator clears the window by around 1/8″, spot on:
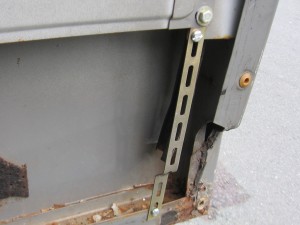
Once happy with positioning, drill holes for and mount the actuator with the bracket. Notice the bend I put in, this becomes even more important later on:
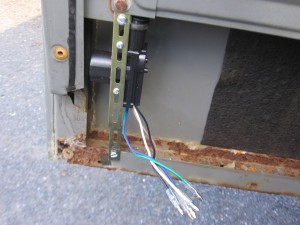
I put a bend in the linkage rod as well, to match with the orientation of the rod it’s connecting to. The block screws down with the three screws shown:
At this point I should note that I hooked up the brain unit and did a dummy run, to make sure the actuator would work in the orientation I had placed it in. It did, so on we go.
The opposite door is (obviously) a mirror image of the other one in terms of general placement, but I made it bespoke just to be sure:
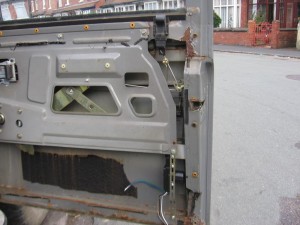
Drivers door completed setup (notice awful rust again):
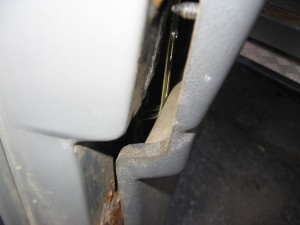
Cue expletives. It seems my bend was not in the right place (see below). The door card fouls it where it is recessed. A bit of re-bending on each side with the pliers and it fits okay again:
After that it’s just a case of figuring out the wiring loom. My kit had wiring for four actuators, so I had some extra wire to lose, which I did behind the dashboard trim. The wires in the doors are wrapped in leccy tape, then fed out below the check linkages. They then run under the dash (in a handy channel), and behind the fusebox cover. From there they go to the brain unit, which is stuck to the underside of the passenger footwell.
The wiring is all biased to the passenger side, that is to say that the wires are shorter that side, so it had to be in that footwell for the passenger door wires to reach. Other kits may differ obviously. This placement meant I had to extend the live feed to the unit, which I did by splicing in some wire of the same gauge (leaving the fuse as close to the battery as possible), and running this from the battery box, under the transmission tunnel trim, and into the fusebox area. It’s earthed on the fusebox plate.
I’m going to take the key blanks to the local key place, and see if they can cut the truck’s ignition key pattern into them, would let me lose another key off my keyring.
